SpreadsheetConverter lets you create web pages with live formulas. One example is when value-added tax (VAT) is added to a sale. You create your formula-driven web page directly in Excel, with the skills you already have. The resulting web page may be simple, but very promising.
In this example, a calculating web page is created in a few minutes. We start with a very simple Excel spreadsheet and create an HTML page that looks the same and calculates the same. We’ll then publish the web page on the web and add the calculator to an existing web page in WordPress.
For American visitors, we have also provided a version of this tutorial for U.S. sales tax.
It is a simple spreadsheet that takes a user entered price and tax rate, and displays the value-added tax amount and the total price with VAT.
The formulas are:
vat in pounds = price_without_vat * vat in %
total price = price_without_vat + vat in pounds
If you don’t want to practice using the product, the original spreadsheet can be downloaded here.
The settings for layout and formatting in Excel are carried over to the converted web page. To create this example, do the following:
The conversion process will create a web page from the contents of the spreadsheet. This web page is stored in a special folder called the Conversion Path. The converted web page is automatically opened for instant testing in one or more web browsers. All of this is controlled by your SpreadsheetConverter Options.

In Excel, look for the SpreadsheetConverter tab at the right-hand end of the Excel menu. Click the tab to switch to the SpreadsheetConverter ribbon.
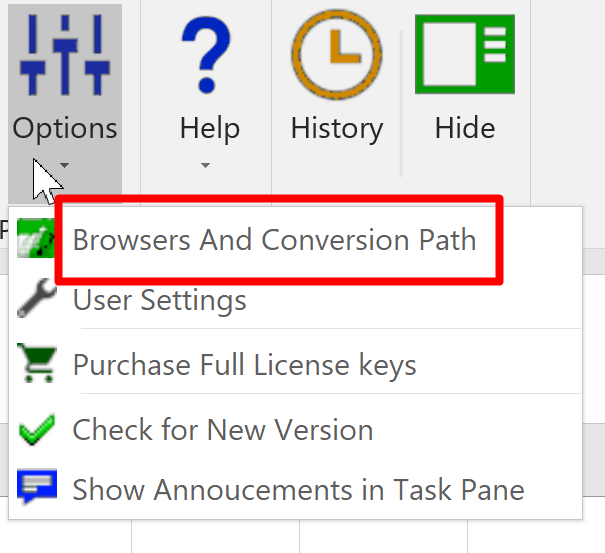
Open the Options menu. Select Browsers and Conversion Path.
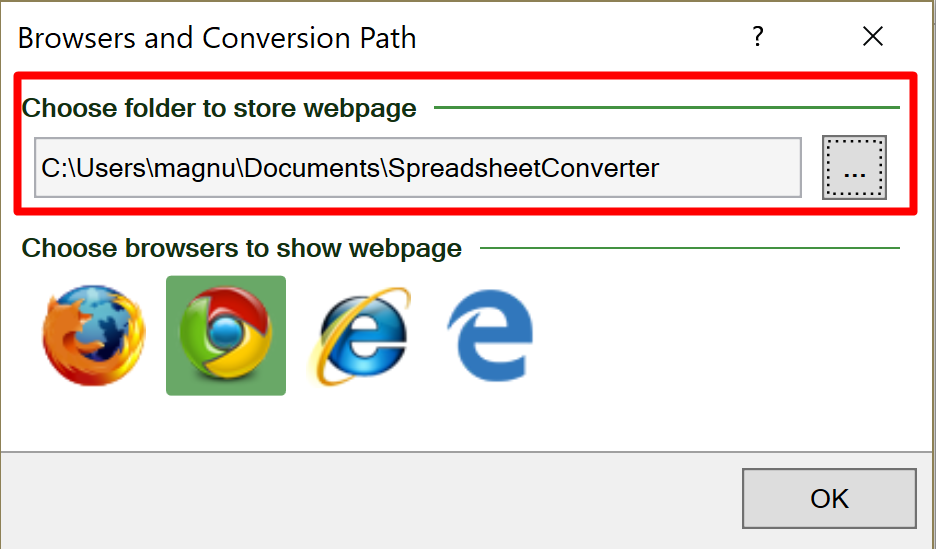
Accept the default location or click on the button to the right under Choose folder to store webpage and navigate to where you want SpreadsheetConverter to store the web pages it creates. All the converted web pages will be stored here, in the same flat folder structure, even if the source spreadsheets are in different folders. Each converted calculator or form will be enclosed in its own subfolder.
Select what web browsers you wish to test the result of each conversion in – click once to activate a browser, click once again to deactivate. Your converted web pages will open in all selected browsers directly after conversion.
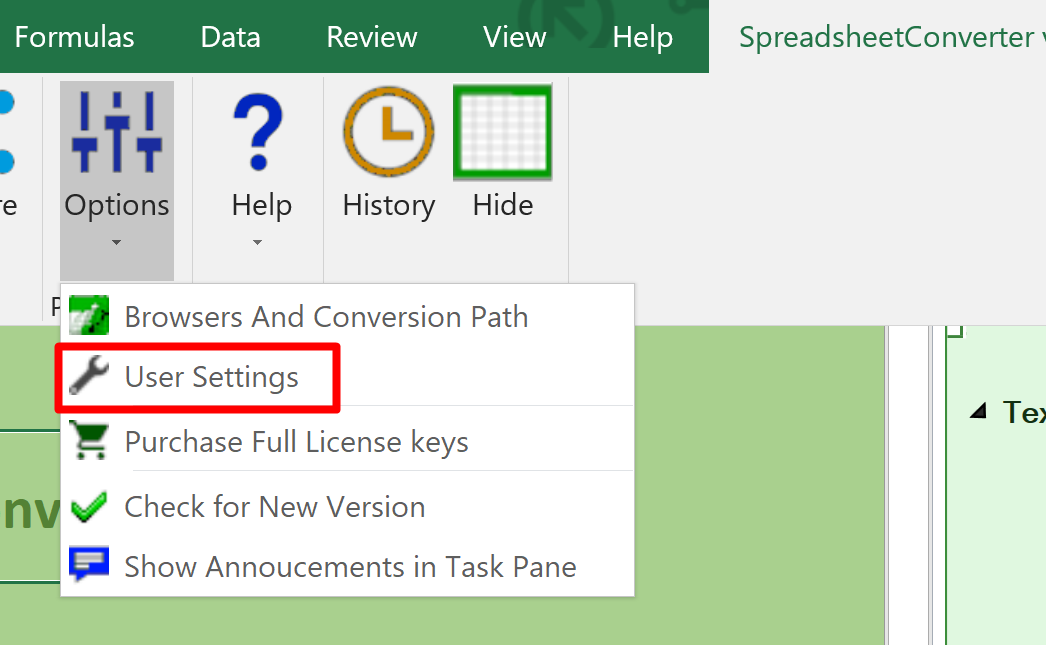
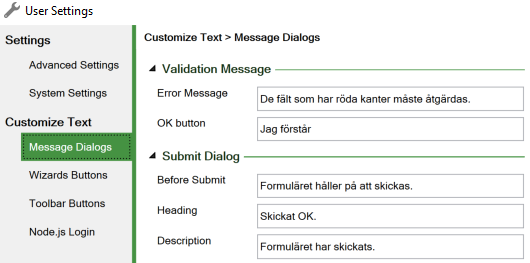
To change or translate any built-in texts, including the button texts, use the User Settings.
On the Message Dialogs tab, click on the arrows to expand the following sections:

In the SpreadsheetConverter ribbon, select Properties > Show so that the SpreadsheetConverter task pane becomes visible.
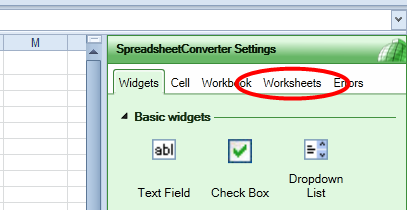
In the SpreadsheetConverter task pane, select the Worksheets tab so that the Worksheets Settings become visible.
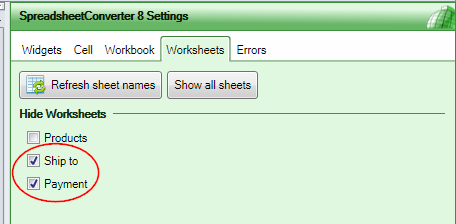
By default, SpreadsheetConverter shows only the active worksheet. The additional worksheets usually contain only background information like tables and lists.
If your spreadsheet contains more than one worksheet, use these settings to make additional worksheets visible or hidden in the converted web page.
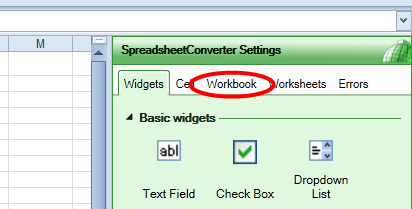
In the SpreadsheetConverter task pane, select the Workbook tab so that the Workbook Settings become visible.

In the Workbook settings, locate the Layout settings. This is where you select how you want the converted web page to appear.
Select Tabs to give each worksheet its own tab on the web page, just like in Excel.
When you start to make complex web forms, you may prefer one of the more advanced options here, e.g. to show the form as a wizard, where each worksheet is a separate step.

In the Workbook settings, locate the Input Cells settings. In Excel, all cells are unlocked by default and can be modified by the user. In the web page, we only want to open a few of the cells for input.
In the Auto mode, SpreadsheetConverter automatically unlocks cells that are referenced in formulas, and cells that contain a Text widget. You can also mark cells for input by giving them a unique background color, or by unlocking them.
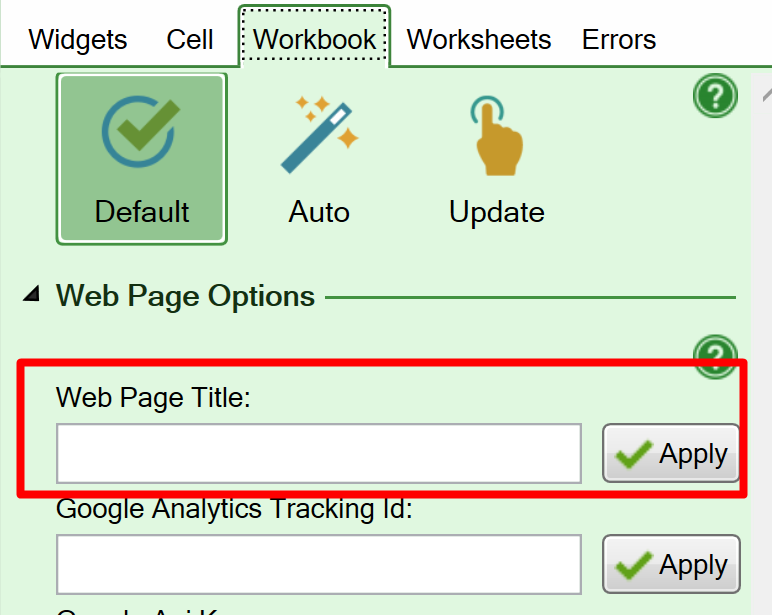
Use the Web Page Title setting on the Workbook tab to set a title for each web page you create. The title appears on the tab for the web page in the web browser.
![]()
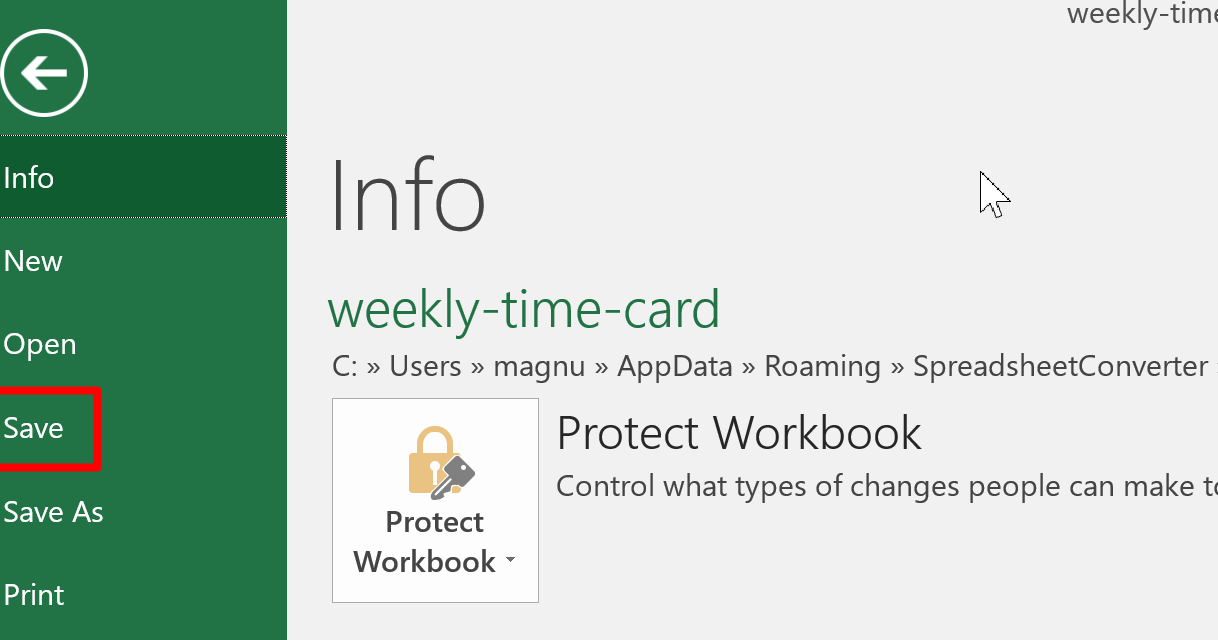
Before you convert the spreadsheet to a web page, remember to save it in Excel. There are many ways to do this, e.g. to click on the diskette icon, hold down the Ctrl key and press S, or to select File > Save in the menu.
If you closed the spreadsheet, open it again so that it is visible in Excel.

SpreadsheetConverter has different “flavors”, i.e. it can generate the web page in different formats, depending on your needs. You convert your own spreadsheets for more than one technical environment. Select Html for this tutorial.

To start the conversion, click Convert in the SpreadsheetConverter ribbon.
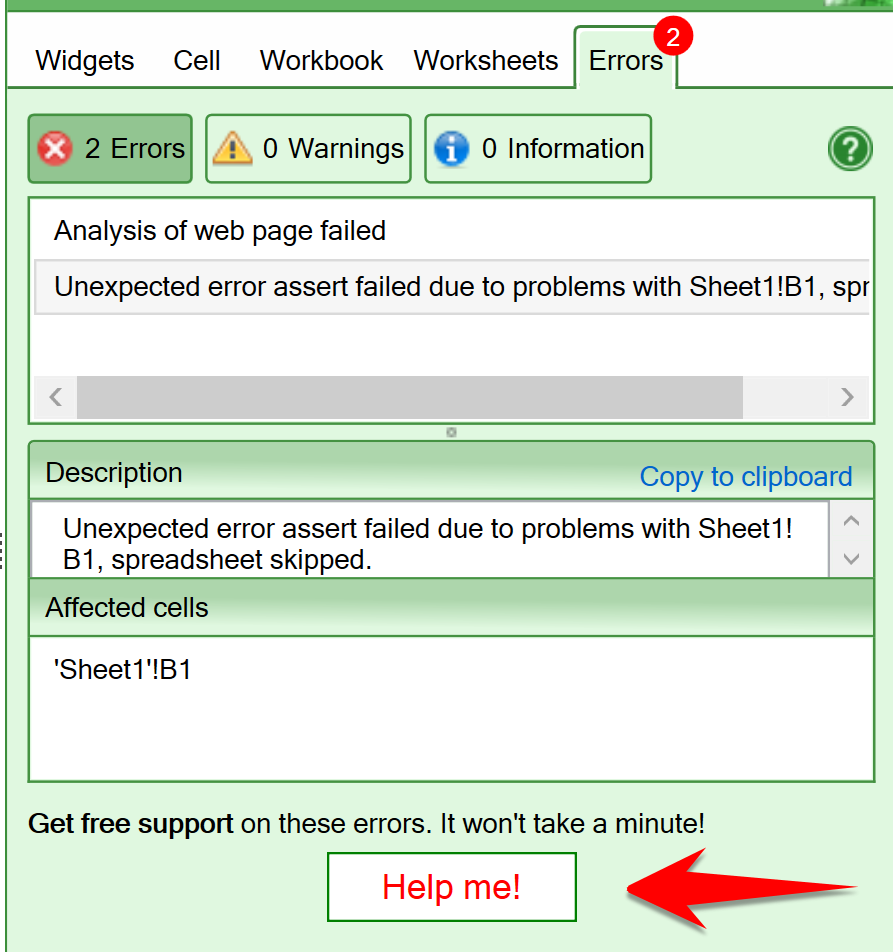
Ensure that there are only “Information” messages in the Errors tab. If you have any other messages, don’t hesitate to press the Help me! button to report your problem to our Help Center.
SpreadsheetConverter creates the web page in the folder you previously specified and opens the resulting web page in the browsers you selected.
The webpage is self-contained. You can upload it to a web server, or send it as an e-mail to a customer. Everyone with a web browser can use it.
SpreadsheetConverter offers click-to-publish sharing with Publish to Cloud, a built-in cloud service. Publish to Cloud offers free 7-day test publishing for all users and permanent production publishing for paid users.
Once you’ve converted a spreadsheet to web format you can make it immediately available on the web by clicking on the Publish to Cloud button on the SpreadsheetConverter ribbon inside the Sharing group.

Click on the Upload and get test link for 7 days button (light blue) if you need to test the calculator further, or click on the Upload and get Production link button (golden yellow) to replace the production version of the page.
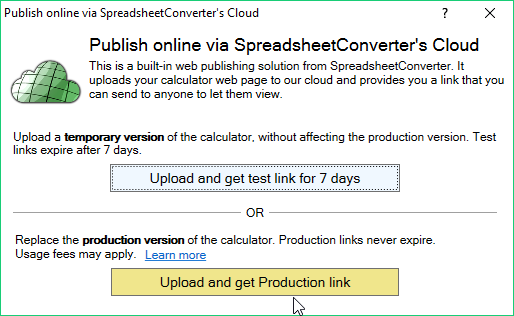
If you’re unfamiliar with Publish to Cloud, you may want to read the help page for Publish to Cloud before you continue.
With the help of an iframe, we can now show our calculator in almost any other web or blog page. The iframe is like a ”viewport” that imports the content of another web page.
When the upload to Publish to Cloud finishes, the options to open or copy the calculator link and other things should appear at the bottom of the window. Click on the Copy iframe… link and it should copy the iframe code of published calculator to your clipboard so that you can paste it anywhere.
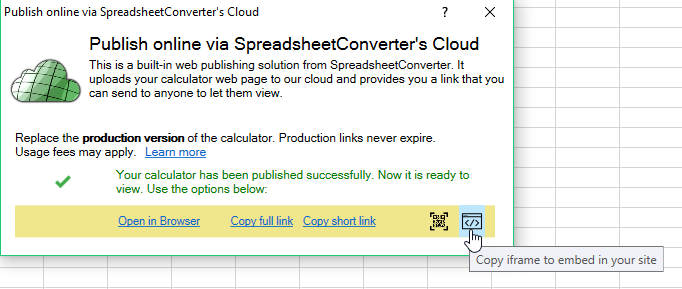
In the iframe code, we may need to adjust the height and width of the iframe to avoid scrolling. The iframe statement finally looked like this:
<iframe src='https://ssccust1.spreadsheethosting.com/1/59/226a21cef25ec5/VAT_calculator/VAT_calculator.htm' width='960' height='720' border='0' frameborder='0'>
<p>Your browser does not support iframes.</p>
</iframe>
This technique works even if you have uploaded the converted web page to another web server. Just replace the calculator URL in the example above with a link to your web calculator.
For this example we will publish the calculator on the web with WordPress. If you use another web design environment, please check the links below. Perhaps there is a better tutorial for your particular environment. Otherwise please let us know and we’ll help you.
In WordPress, we inserted the iframe source code directly in the HTML view. It is important to click Update before you return to the Visual view, because otherwise WordPress may remove the iframe.
Spreadhseet Converter can take just about any spreadsheet with formulas and all, and convert it to a live web page that still does all the calculations exactly the same as in Excel.
To test the calculator, change the price and press the Tab key. The price including VAT will be updated immediately. Test the VAT calculator here!
Converting spreadsheets to web format makes it very easy to import them into your blog or website. Here are tutorials on how to do this in various popular environments: